🔥 Last Day to Save on Freeze-Dried Favorites! Sale Ends at Midnight → Shop

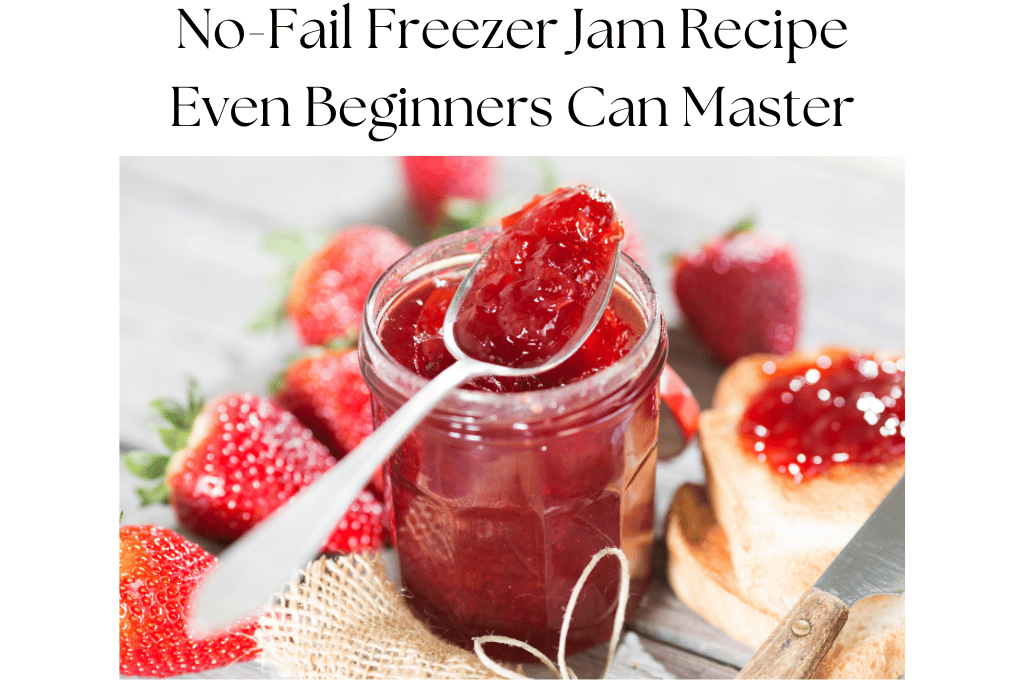
No-Fail Freezer Jam Recipe Even Beginners Can Master
Monty & Debbie
2/28/20255 min read

How to Make the Easiest Freezer Jam Ever (Using Thrive Freeze Dried Fruit!)
Making your own homemade freezer jam is one of the simplest, most rewarding kitchen adventures you can take.
There’s no need to be intimidated by the idea of “jamming”—this isn’t a sweaty, hours-long canning process that requires thermometers, jars, and a whole lot of patience.
Nope, freezer jam is the no-stress version of homemade jam—perfect for
beginners
busy families, or
those of us who just really, really love spreading something delicious on toast.
And the best part? You only need a few simple ingredients, including Thrive Freeze Dried Fruit, to create a small batch of fresh, flavorful jam that’ll have your taste buds dancing.
At Pantry Today, we’re all about helping you simplify life while savoring every delicious moment.
That’s why we’re here to guide you step-by-step through the easiest freezer jam recipe. You’ve got this—consider us your jam-making cheerleaders!
What Makes Freezer Jam Different?
Alright, first things first—what exactly is freezer jam, and why is it such a superstar in the world of preserves?
Unlike traditional jam, which involves cooking fruit and sealing it in sterilized jars for long-term shelf storage, freezer jam skips the canning.
Instead, you
mix your ingredients together,
refrigerate or freeze the jam,
and enjoy the fresh, fruity sweetness whenever you want.
This means:
No canning pots. Forget sweating over a steaming pot of fruit.
Unmatched flavor. Freezer jam tastes fresher because the fruit isn’t cooked down—it’s like eating summer straight from the jar.
Quicker and easier. From start to finish, you’ll be done before you know it (and ready for that celebratory PB&J sandwich).
Whether you’re new to homemade preserves or just looking for a foolproof way to keep locally-sourced or seasonal fruit in your kitchen year-round, freezer jam is the way to go!
Learn more about safe food preservation practices from the USDA.


Step-by-Step Guide to Making Freezer Jam
Now, it’s time to get to the good stuff! Here’s our tried-and-true freezer jam recipe that you can whip up in just a few simple steps. Grab your Thrive Freeze Dried Fruit of choice, and let’s do this.
What You’ll Need
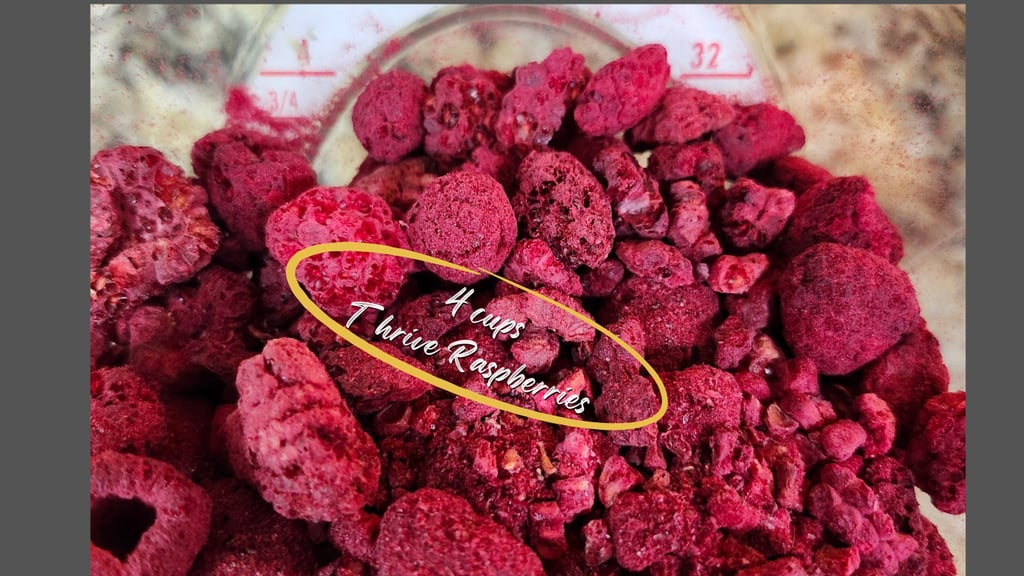
4 cups of Freeze Dried Fruit crushed to approximately 2 cups (choose your favorite—strawberries, raspberries, peaches, or even a fun mix!)
3 cups of water (2 cups for rehydrating the fruit, 1 cup for pectin mixture)
2 cups of granulated sugar (or alternate sugar substitute)
1 packet of Sure Jell Pectin in the pink box (available at most grocery stores near the canning supplies)
A mixing bowl, spoon, and air-tight freezer-safe containers (glass jars or plastic containers both work great!)
The Steps
Measure the fruit. 4 cups of Freeze Dried Fruit. You pick your favorite flavor.
Smash the fruit. In a gallon bag, crush the fruit until it reaches your desired texture. Like big chunks of fruit in your jam? Smash lightly. Prefer smooth and spreadable? Smash a little more.
Rehydrate the fruit. Add smashed Thrive Freeze Dried Fruit to a bowl along with 2 cups of water. Stir gently and allow the fruit to sit for about 10 minutes to fully rehydrate.
Sweeten the pot. In a pot add exactually 2 cups of sugar, 1 box of Sure Jell Pectin (in the pink box) and 1 cup of water. Stir well then heat to full boil. If you’re cutting back on sugar, you can experiment with alternative sugars, but traditional sugar works best for that classic texture and flavor. This is your jam—make it your own!
Combine fruit into pot. Add the rehydrated fruit to the pot. Stir well and be prepared to immediately fill your containers.
Fill your containers. Spoon the jam into your freezer-safe containers. Leave a little space at the top (about ½ inch) for expansion during freezing. Seal the lids tightly.
Freeze or refrigerate. Your jam is ready to enjoy after about 30 minutes in the fridge. If you’re making a big batch, store extra jars in the freezer for up to a year. Just thaw before using, and it’s as fresh as the day you made it!
Looking for more simple THM recipes? Browse them here

How to Use Your Freezer Jam
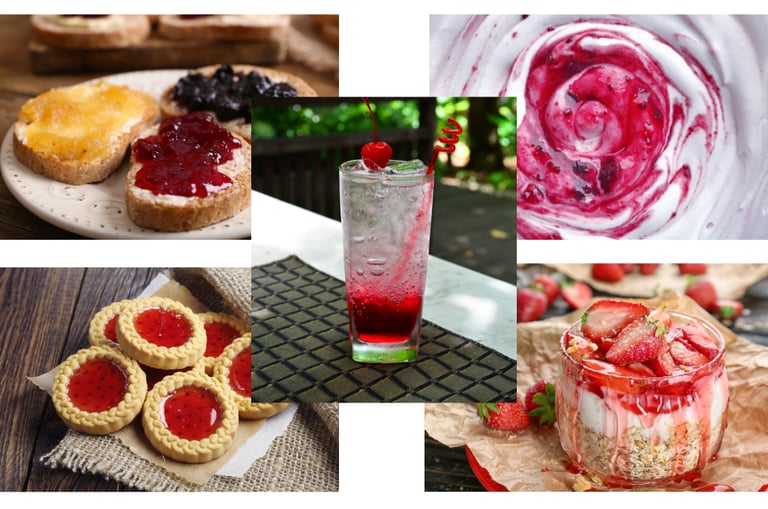
Now that you’ve made your jam (well done, you!), the real fun begins. Here are just a few ways to enjoy your homemade creation:
Spread it on toast, croissants, or English muffins for breakfast that feels like a treat.
Swirl it into plain yogurt for a quick, kid-friendly snack.
Spoon it over vanilla ice cream for an instant dessert upgrade.
Use it as a filling for cakes, thumbprint cookies, or crepes.
Stir it into sparkling water or lemonade for a refreshing fruity drink.
Freezer jam isn’t just versatile—it’s a little taste of creativity that fits right into your everyday life.
Final Thoughts and a Call to Action
We told you this would be easy, didn’t we?
Making freezer jam is one of those small but mighty kitchen accomplishments that brings joy with every bite.
It’s versatile,
beginner-friendly, and
bursting with fresh fruit flavor—especially when using Freeze Dried Fruit.
From busy parents to adventurous foodies, anyone can feel like a pro with this process.
And now it’s your turn. With just a can of Freeze Dried Fruit, some sugar, and a little pectin, you’re officially equipped to make the best freezer jam for your family, friends—or just yourself.

Why Thrive Freeze Dried Fruit is a Game-Changer
Okay, so here’s our secret to leveling up freezer jam—and the reason why this recipe is your ticket to homemade greatness in a pinch. Using Thrive Freeze Dried Fruit means:
No more waiting for fruit to ripen or going to multiple grocery stores. Thrive’s freeze-dried fruits are picked at peak ripeness and preserved while fresh, locking in all that natural sweetness and flavor.
Less prep time. You won’t need to wash, chop, peel, or pit anything. Seriously—just open the can, measure, and you’re ready to go.
Consistent quality, every time. Since we’re starting with perfectly preserved fruit, you can say goodbye to bruised peaches, tart strawberries, or overripe blueberries. It’s all good.
Year-round availability. Craving mango jam in January? Or peach preserves in March? Thrive has you covered.
Plus, if you’re a fan of stocking your pantry with versatile ingredients (aren’t we all?), these freeze-dried fruits go beyond jam—they’re perfect for smoothies, baking, or snacking straight out of the bag.
Read about the benefits of freeze-dried fruits here.
Read: Crisis Proof Your Pantry: Must-Have Shelf-Stable Foods


Email: team@pantrytoday.com
Phone: (512) 522-8691
© 2025 Pantry Today. All Rights Reserved.
Pantry Essentials
Quick Links
Blog
Preparedness made simple — no bunkers or beards required.
Community & Social
Legal
Affiliate Disclosure
As an Amazon Associate, I earn from qualifying purchases.
Some links on this site are affiliate links, which means we may earn a small commission at no extra cost to you.
Thank you for supporting our family business. 💛